Calibrating Main module camera
Cameras connected via Ethernet-socket
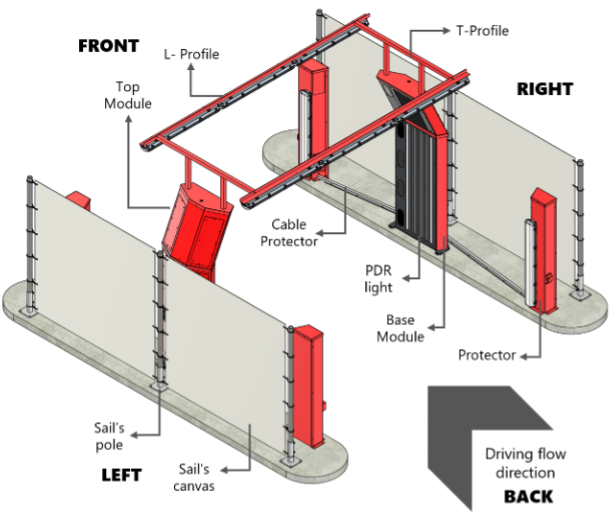
Mounted in the BASE MODULE
You need | Comment |
Windows PC with USB-A port | 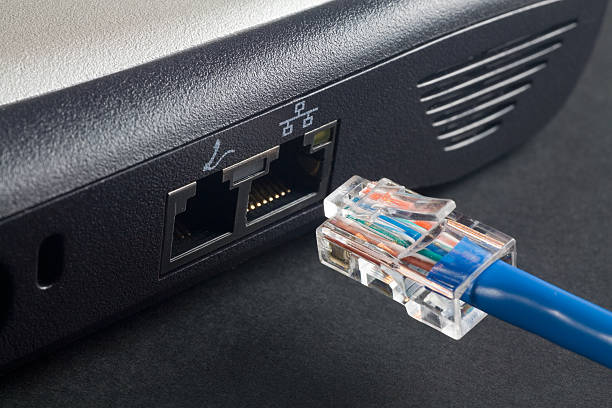 |
Ethernet cable | 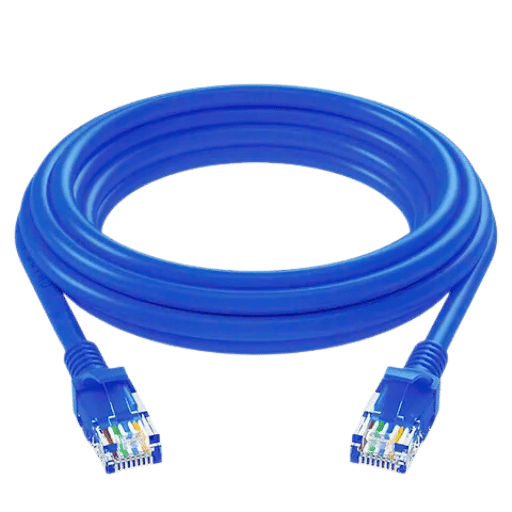 |
Basler Pylon software downloaded |
Step | Comment | Picture |
OPEN | Open rig | |
CONNECT CAMERA | Connect portable PC via ethernet cable to PC in rig. Use the available Ethernet port For accessing these cameras Wenn needs to be contacted The USB and Ethernet ports are always accessible via the cover that is farthest from the scanner’s entry point. | 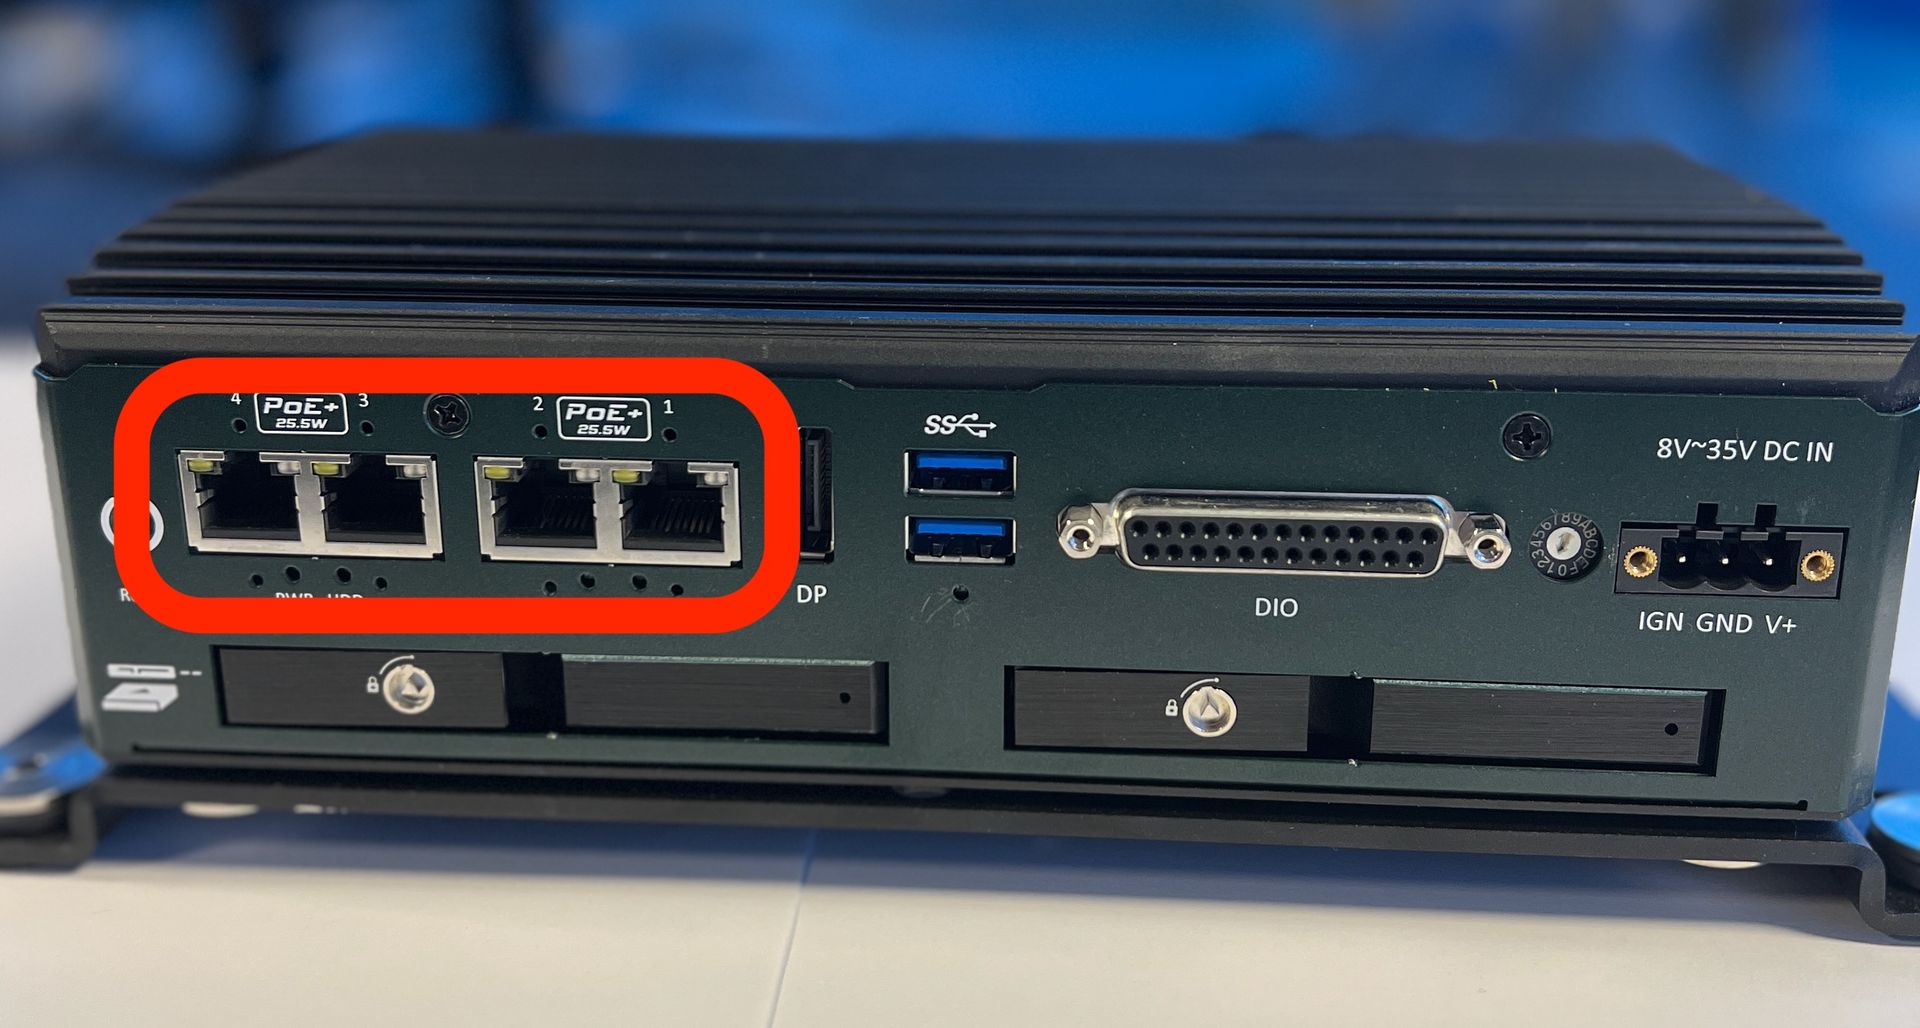 |
Start Basler Pylon software | ||
Activate camera (1). Button turns green It will appear under "GigE" Named: 0, 1 or 2 0 = Bottom camera 1 = Middle camera 2 = Top camera |  | |
To film, and be able to see FOV (Field of view) activate Filmcamera-icon (2) | | |
Adjust FOV(Field of view) Cameras can only be adjusted UP-DOWN | ||
Example of camera 0 What to consider:
| 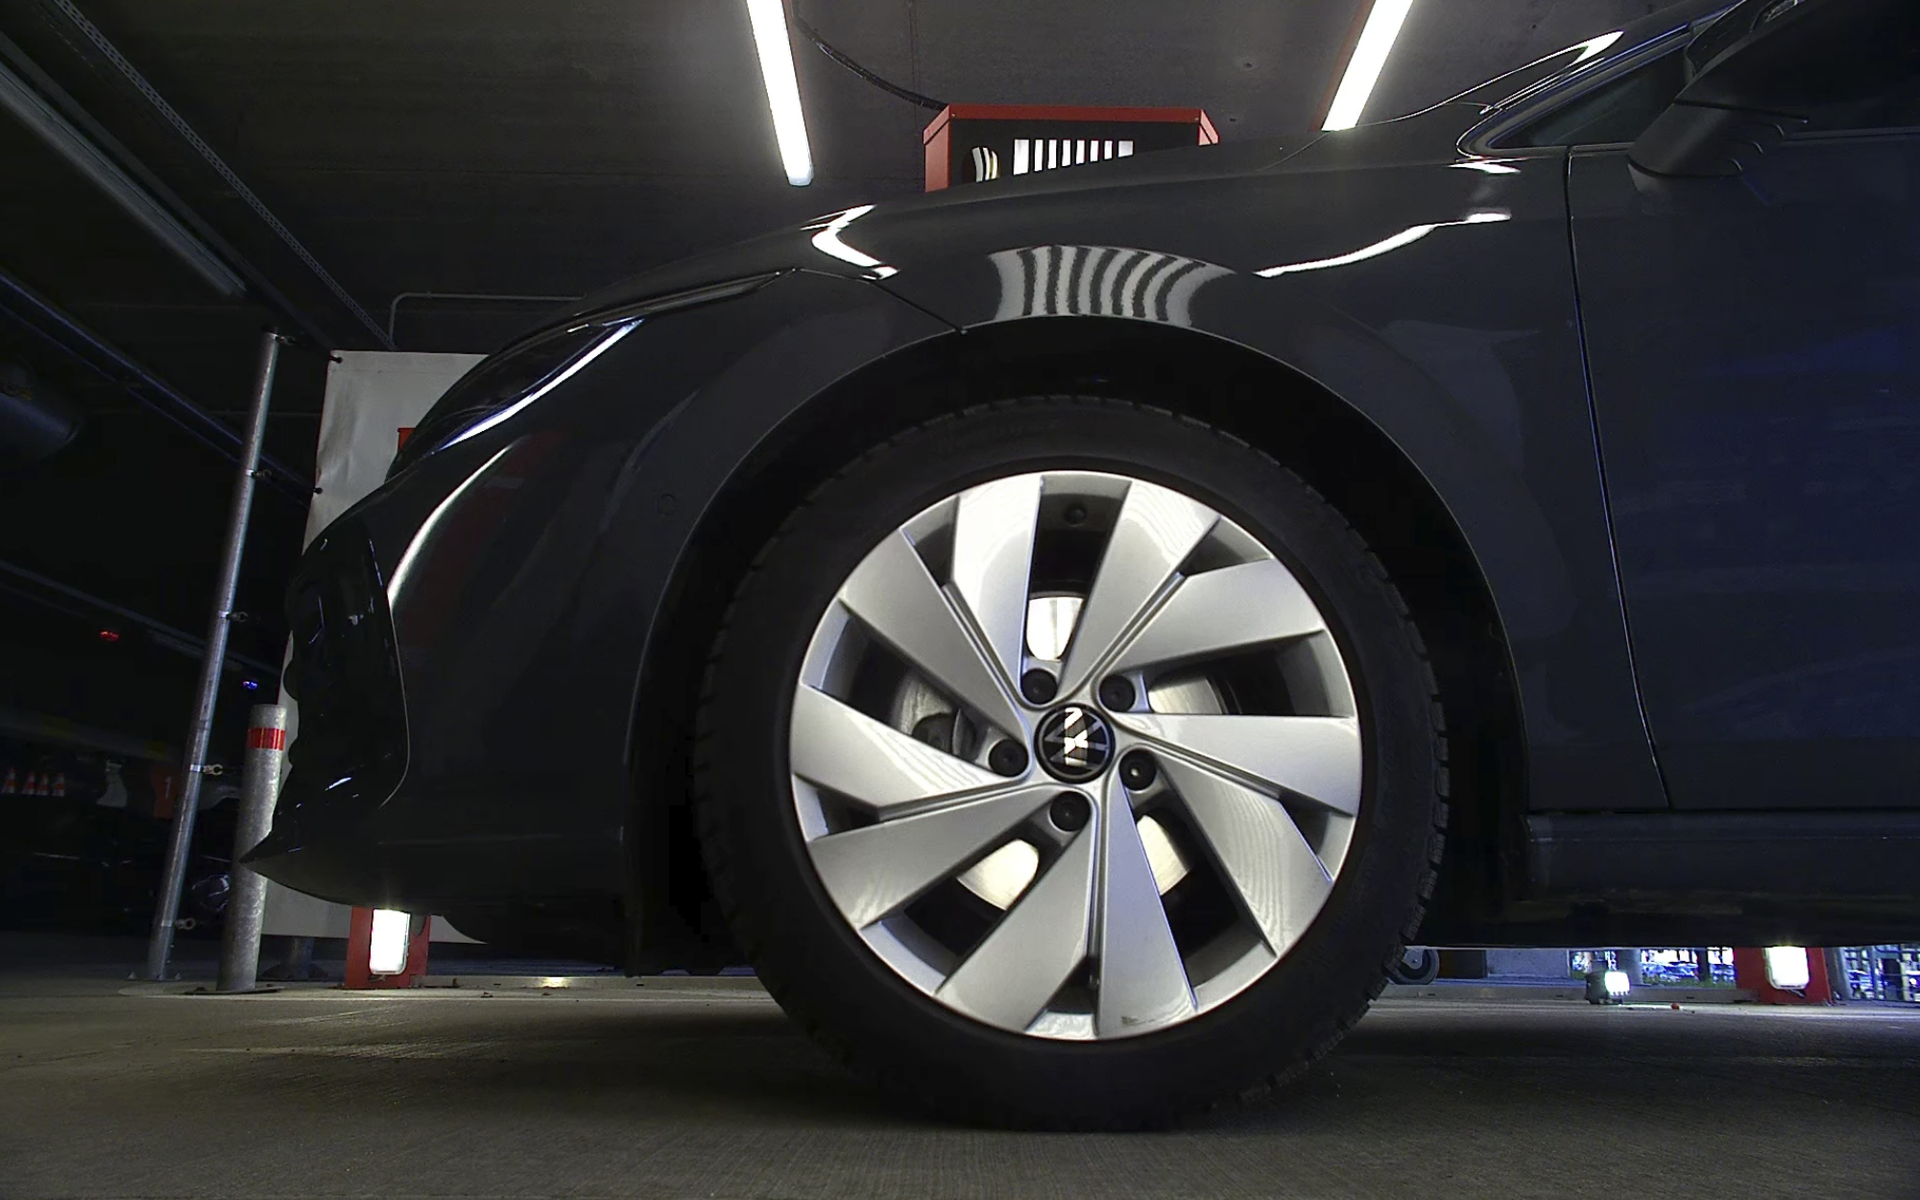 | |
Example of camera 1 What to consider:
| 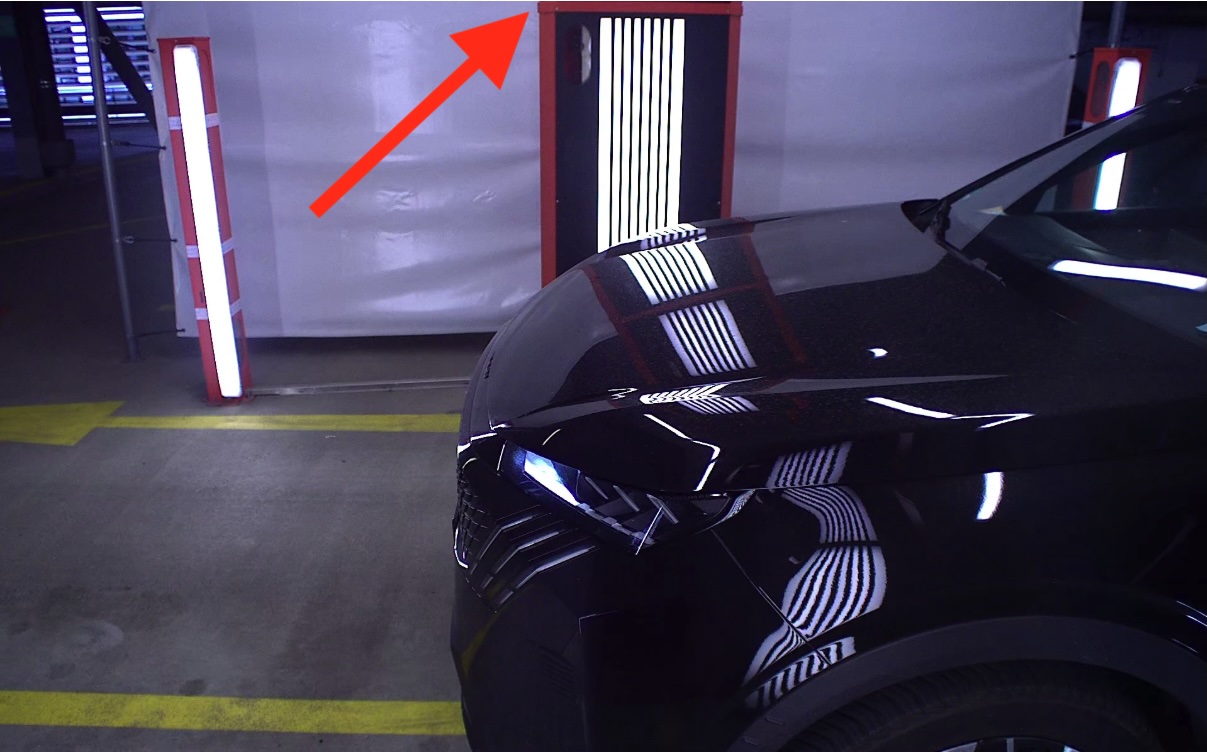 | |
Example of camera 2 | 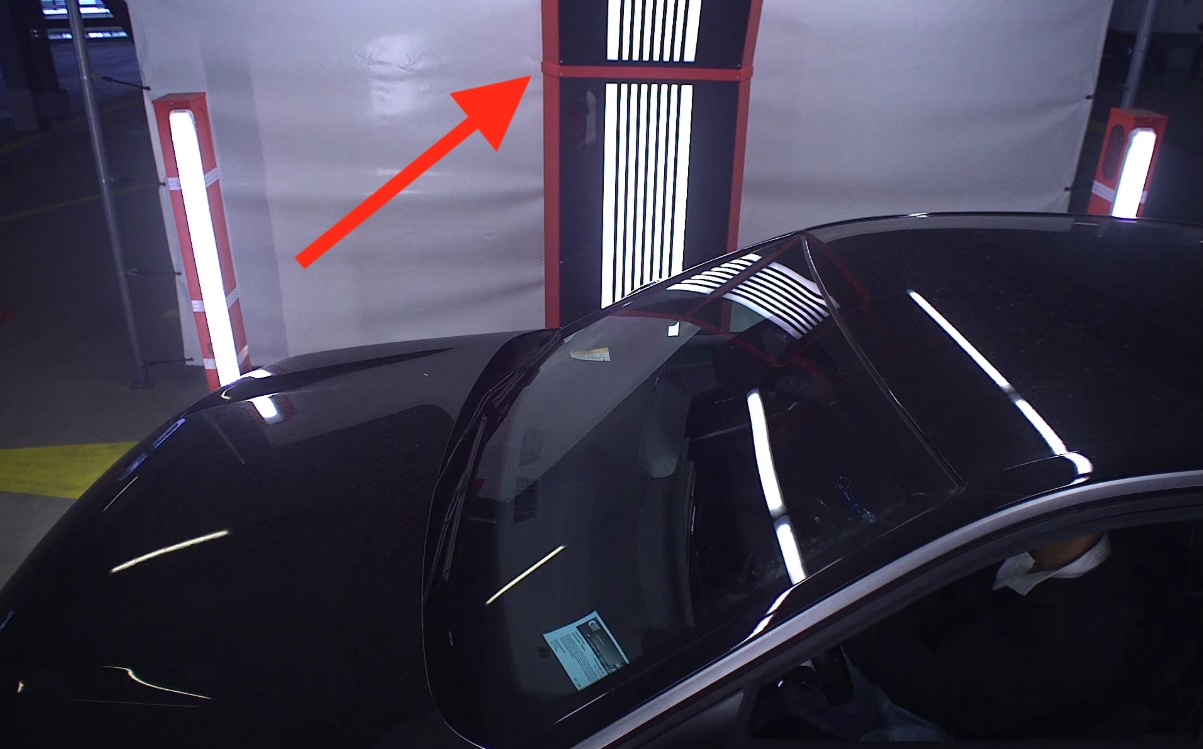 | |
Calibrate The lense is fastened with a small ring You need to loosen it to access the lense | 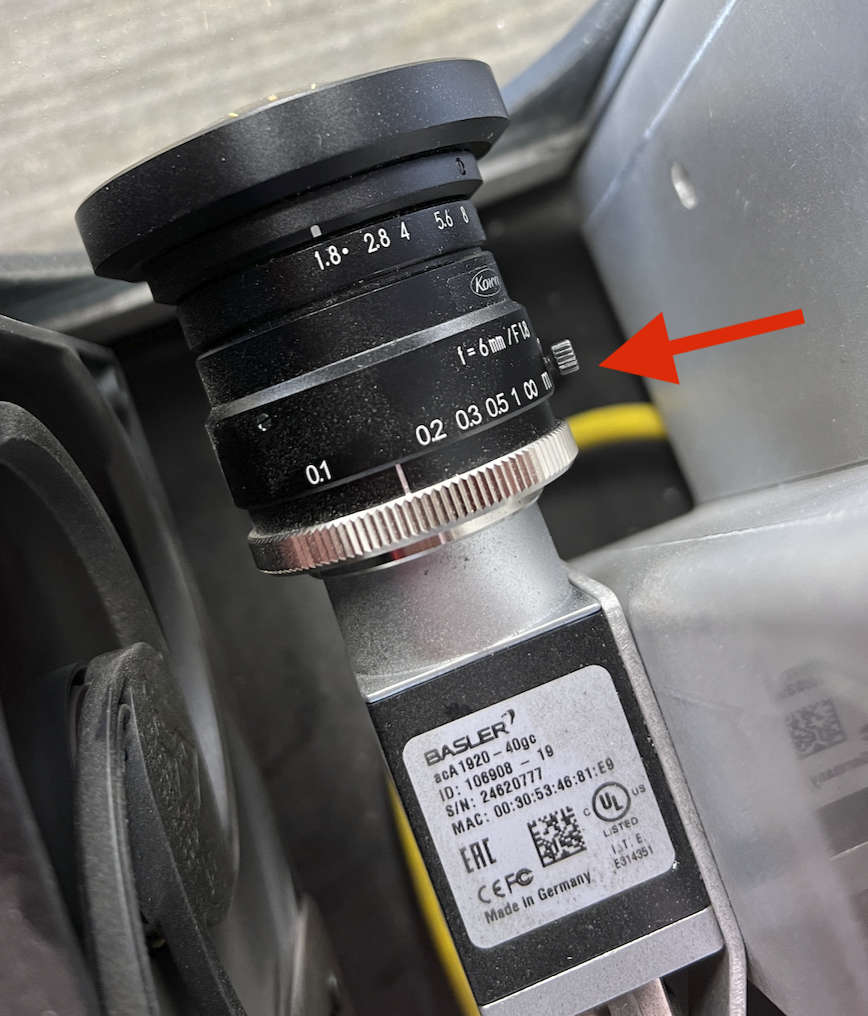 | |
Activate zoom (3) to zoom in on object for calibration. We recommend having a car available When you have zoomed in, you can scroll the picture to find a good place to see the effect of the adjustment. See live in Basler software and adjust picture until it is sharp and clear |  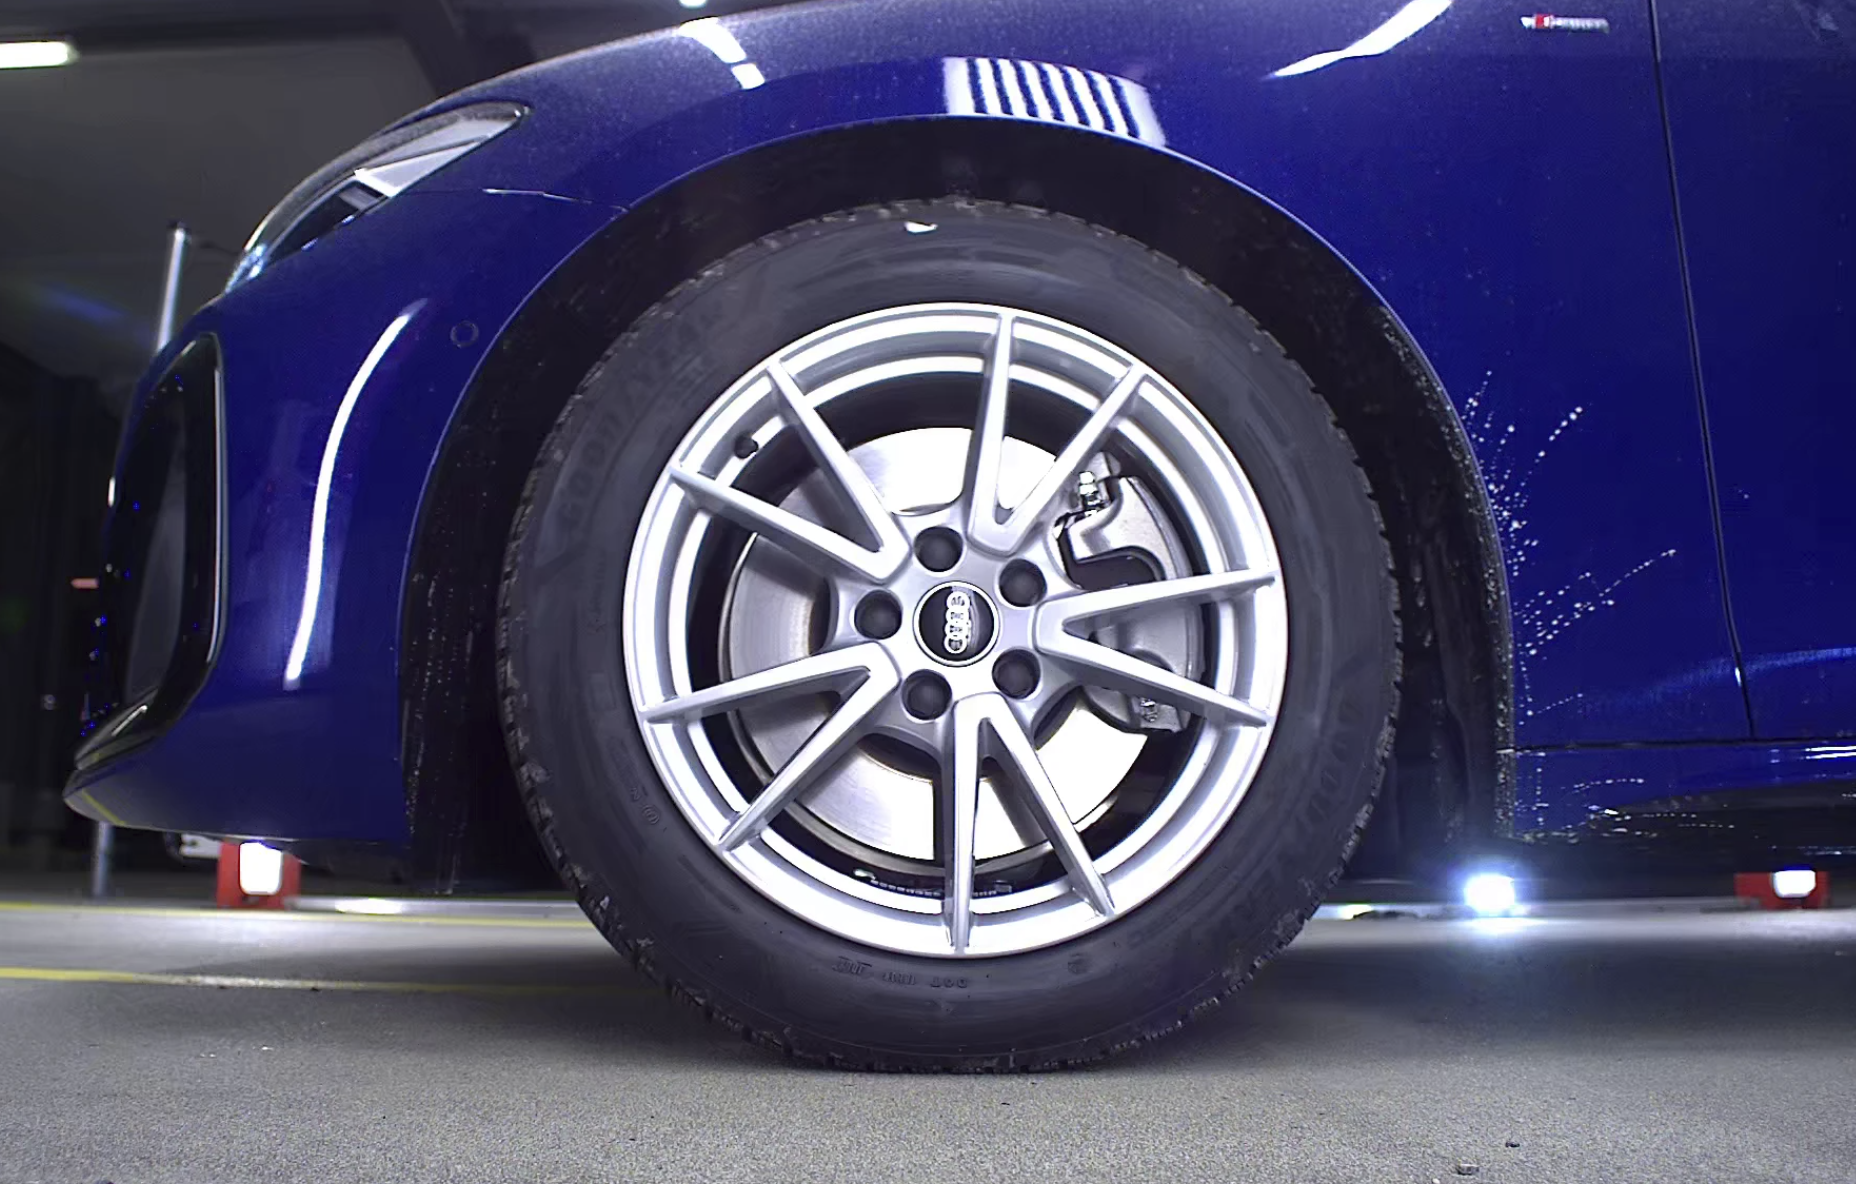 | |
IMPORTANT When finished calibrating, remember to De-activate the camera (1) before pulling out Ethernet cable from PC | ||
Disconnect ethernet cable |